This recipe follows a classic no-knead method, allowing time to do most of the work. The result is a bakery-style loaf with rich flavor and beautiful texture—perfect for sandwiches, soups, or simply enjoying with butter.
Why You’ll Love This Recipe
Rustic bread is all about simplicity and flavor. With just flour, water, yeast, and salt, you can create a loaf that rivals artisan bakery bread.
- No kneading required
- Crispy crust with soft interior
- Minimal ingredients
- Perfect for beginners
- Great for everyday use
Ingredients
To make one large loaf, you’ll need:
- 3 cups all-purpose flour (or bread flour)
- 1½ teaspoons salt
- ½ teaspoon instant yeast
- 1½ cups warm water
Making the Dough
In a large bowl, combine the flour, salt, and yeast. Stir to mix evenly.
Pour in the warm water and mix with a spoon or your hands until a sticky dough forms. Do not overmix—the dough should look shaggy and rough.
Cover the bowl with plastic wrap or a clean towel.
First Rise (Fermentation)
Let the dough rest at room temperature for 12–18 hours. This slow fermentation develops flavor and creates the airy texture.
By the end of this time, the dough should be bubbly and doubled in size.
Shaping the Dough
Lightly flour your work surface and turn out the dough. It will be sticky, so handle it gently.
Fold the dough over itself a few times to shape it into a rough ball. Avoid kneading—just shape lightly.
Let it rest for 15–20 minutes.
Second Rise
Place the dough on parchment paper or in a floured bowl. Cover and let it rise again for 1–2 hours until puffy.
Preheating the Oven
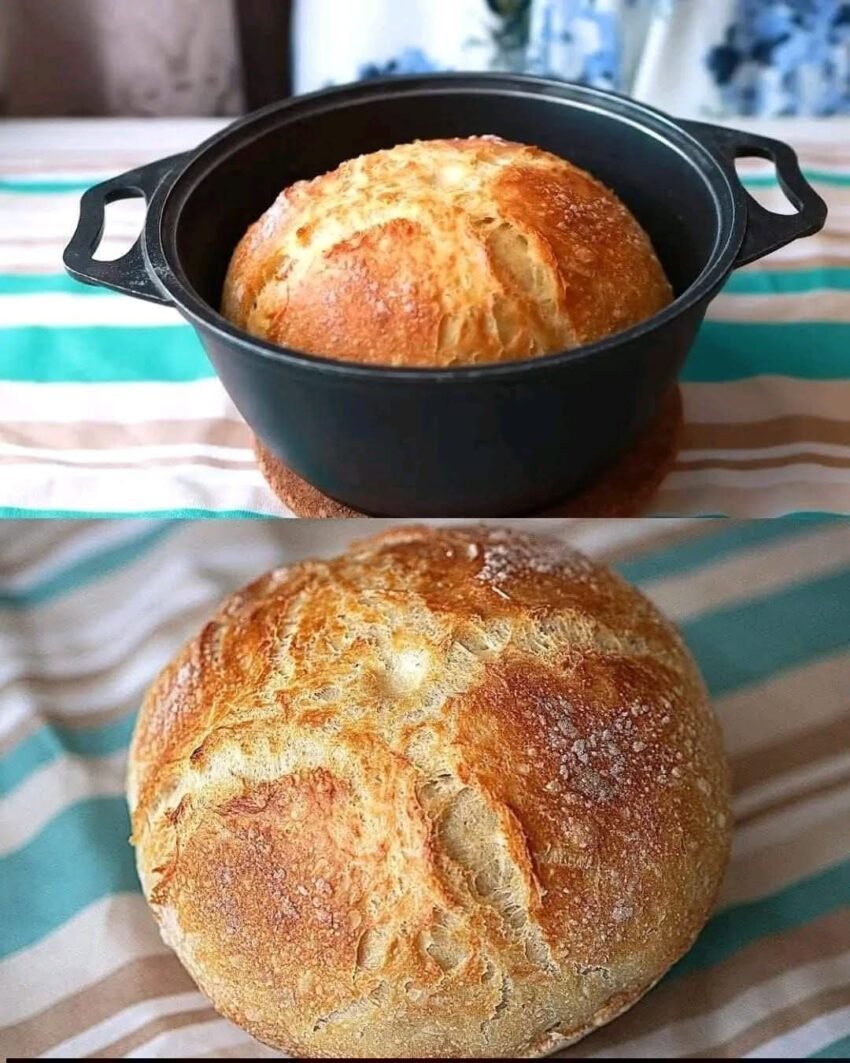
Place a Dutch oven (or heavy pot with lid) in your oven and preheat to 230°C (450°F). Heating the pot is key to creating steam, which gives the bread its crispy crust.
Baking the Bread
Carefully remove the hot pot from the oven. Place the dough (with parchment paper) into the pot.
Cover with the lid and bake for 30 minutes. Then remove the lid and bake for another 10–15 minutes until the crust is deep golden brown.
Cooling
Remove the bread from the pot and let it cool on a wire rack for at least 30 minutes before slicing.
This step is important—the bread continues to cook slightly as it cools, and cutting too early can affect the texture.
Serving Suggestions
This rustic bread is incredibly versatile and pairs beautifully with:
- Butter or olive oil
- Soups and stews
- Cheese and charcuterie
- Sandwich fillings
- Garlic or herb spreads
Tips for Perfect Rustic Bread
- Use long fermentation: This improves flavor and texture
- Don’t add too much flour: Sticky dough makes better bread
- Preheat the pot: Essential for a crispy crust
- Be patient: Good bread takes time
- Let it cool fully: For the best crumb texture
Variations
- Whole Wheat Version: Replace part of the flour with whole wheat flour
- Herb Bread: Add rosemary, thyme, or garlic to the dough
- Seeded Loaf: Mix in sunflower seeds or flaxseeds
- Olive Bread: Add chopped olives for a Mediterranean twist
Storage and Reheating
- Room Temperature: Store in a paper bag or wrapped in cloth for up to 2 days
- Freezing: Slice and freeze for up to 2 months
- Reheating: Warm in the oven at 180°C (350°F) for a few minutes
Final Thoughts
Baking a rustic loaf of bread at home is one of the simplest yet most rewarding kitchen experiences. With minimal ingredients and a little patience, you can create a beautiful, crusty loaf that’s full of flavor and character.
Whether you’re a beginner or an experienced baker, this recipe is a reliable go-to that delivers excellent results every time.
Enjoy the aroma, the texture, and the satisfaction of homemade bread—fresh from your own oven!